Because of the travel restrictions, photographers are not allowed to travel around to conduct photo shoots and instead must do most of their shoots at home. Because of that, they might not have access to equipment that can help them do their job more efficiently while producing good looking pictures.
With the help of some household items and a bit of creativity, it’s possible to bring your picture-taking skills to the next level. Here’s a list of 8 DIY photography tricks you can easily do at home for your next photo shoot. Let’s have a quick look at the list, shall we?
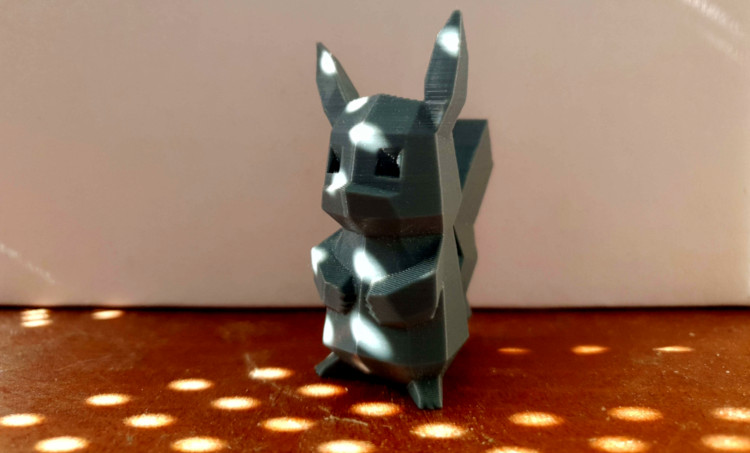
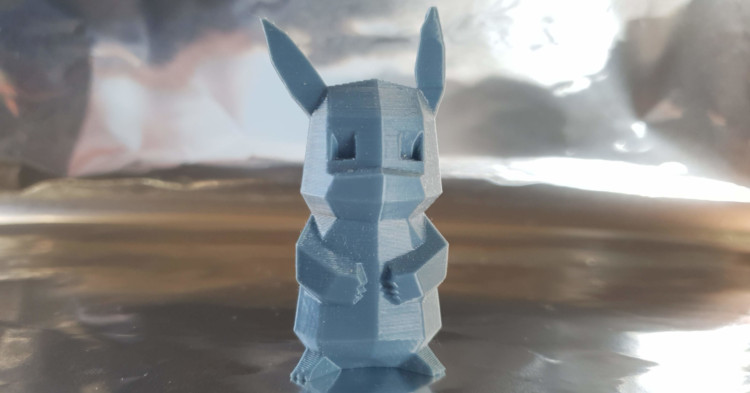
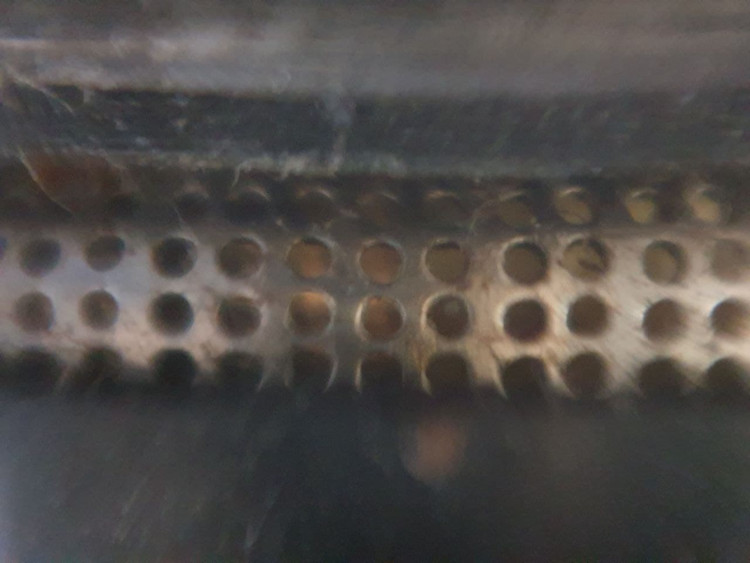
#1 Use a metal strainer for a dramatic looking picture
Strainer placed in front of a light source
Strainer used to block some light
You can place a wire strainer in front of your light source to create a dramatic light effect. A metal strainer with thinner wires might work, but it won't look as nice compared to using a strainer with thicker wires.
Alternatively, you could place the strainer at the front of the camera to get softer looking pictures. If you don’t want the strainer’s rim to be visible in the picture, be sure to get one that’s big enough so that the rim is not visible in the final image.
#2 Use aluminium foil for product shoots
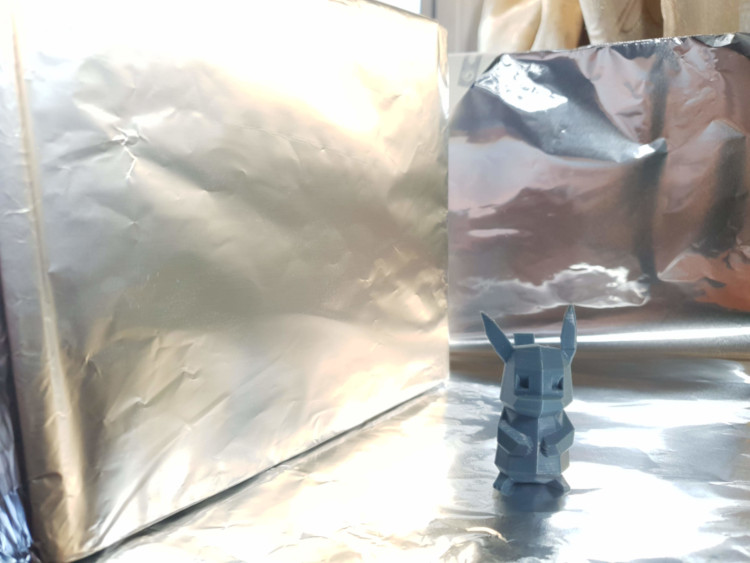
You can use the matte side of the aluminum foil as a soft light reflector
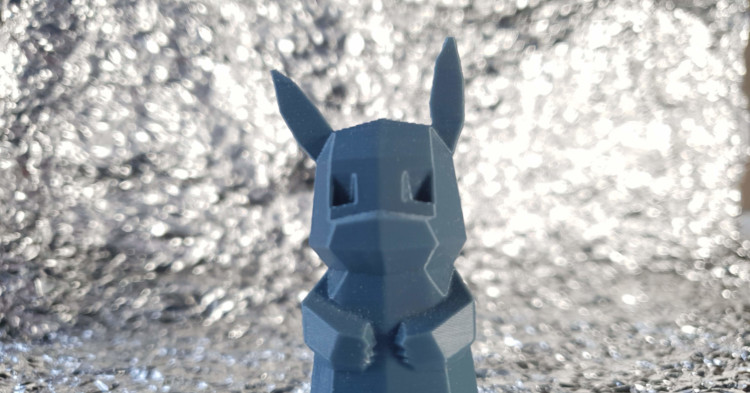
Aluminum foil can also be used as a backdrop
When taking pictures of products, aluminium foil is a great tool to have because one side of the foil has a near mirror finish, which makes it great if you want to include the reflection of the product in the picture. On the other hand, the other side of the aluminium foil has a matte texture, making it a great light reflector.
Because the aluminium foil is flimsy by nature, we recommend taping it to something more rigid like flat cardboard so that it’s easier to work with. Another thing you can do with aluminium foil is to crumple it and use it as a backdrop to add more depth to the picture.
#3 Toss papers and documents in front of the camera

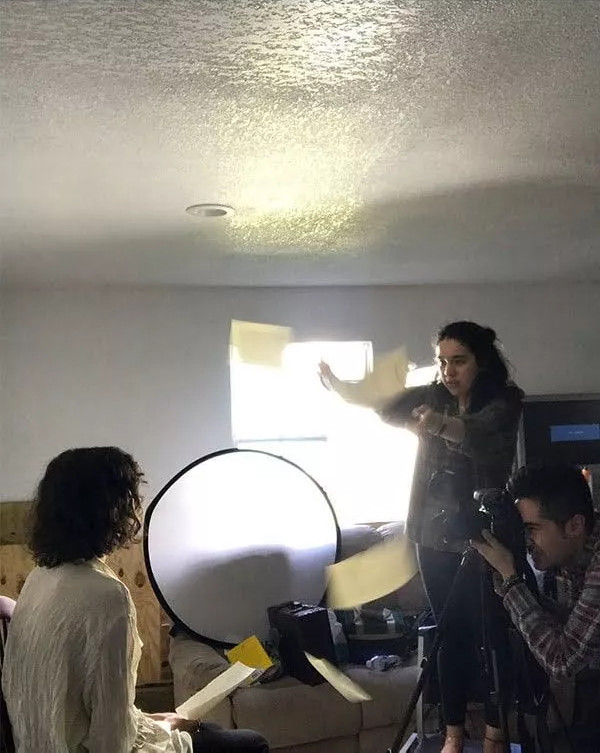
Tossing papers in front of the camera can make your pictures look a lot more interesting. Pictures courtesy of Chris Hernandez
If you have some documents around the house that are not in use, you can toss them in front of the camera for a more dramatic looking picture. While the effect can be done using a bunch of blank A4 paper, papers with text printed on them makes the picture look a little more convincing.
You could also rip out pages from an old storybook and use those as well. However, be sure to ask around before ripping up old storybooks because you’ll never know who still might want to read them.
#4 Experiment with food
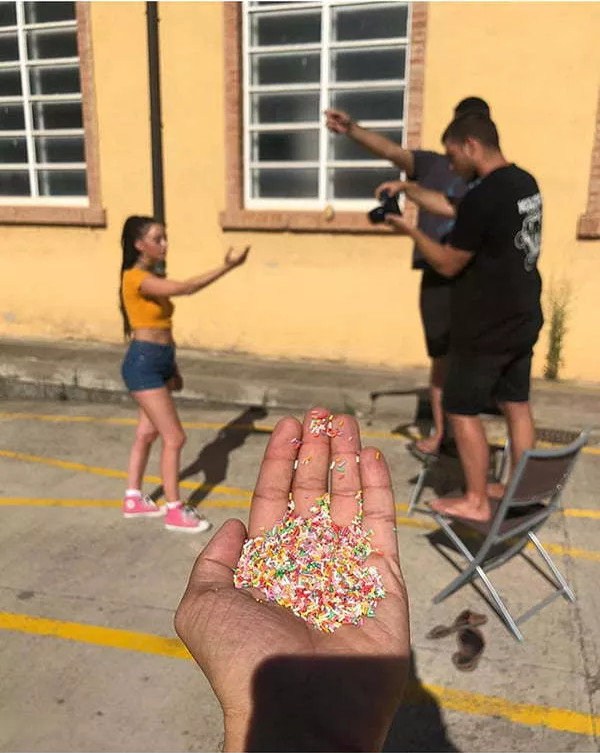
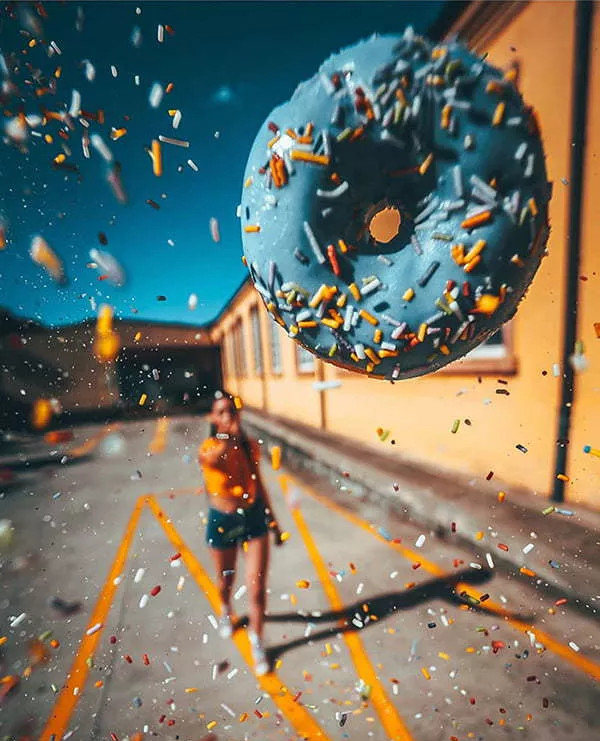
Don't be afraid to play around with food. Image courtesy of Jordi Koalitic
Not only does food taste good, but they’re also great subjects for taking pictures of. For example, you could take a picture of a doughnut with some sprinkles tossed in the air for an interesting photo.
Be sure to increase your shutter speed so that the sprinkles don’t look blurry when you toss them in the air. You can try this out with foods other than doughnuts and sprinkles such as an Apple, Orange, Banana, and more.
#5 Play around with water droplets
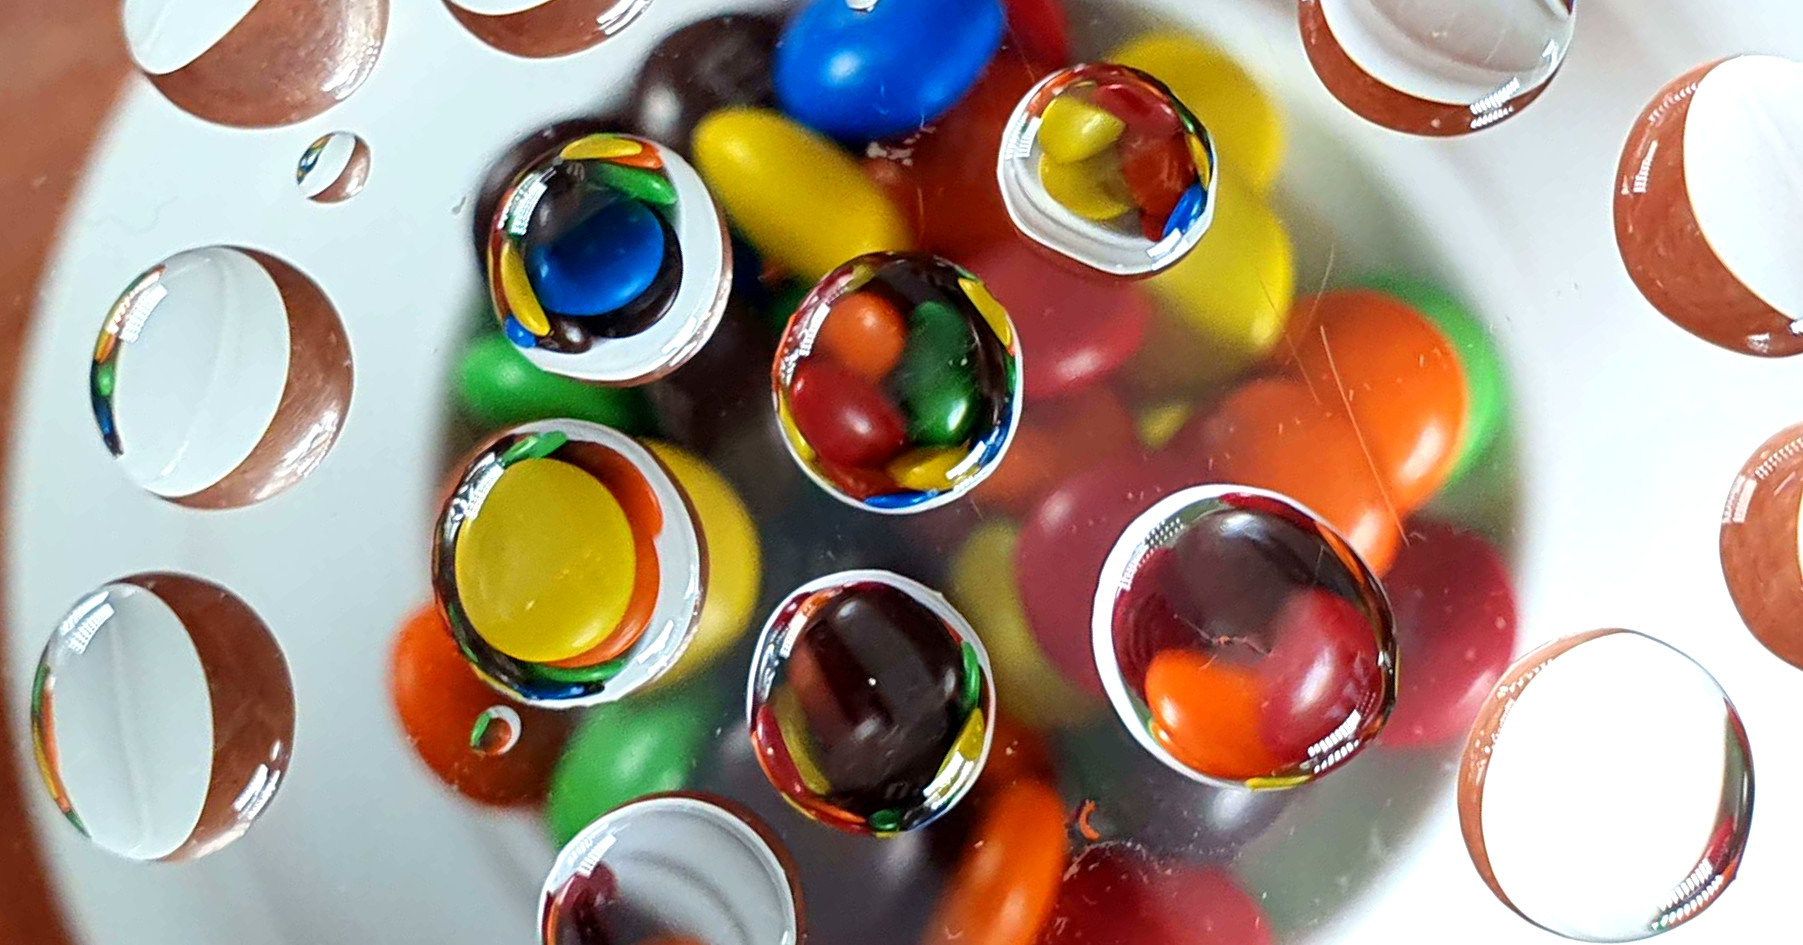
You could make this picture using only a glass pane and water droplets
Using a pane of glass and water droplets, you can get an interesting mosaic effect on subjects under the glass pane. If you want to go the extra mile, you can add coloured lights on the side of the subject for a more dramatic looking photo. Also, you can mess around with the focus to either the droplets or the subject in the background.
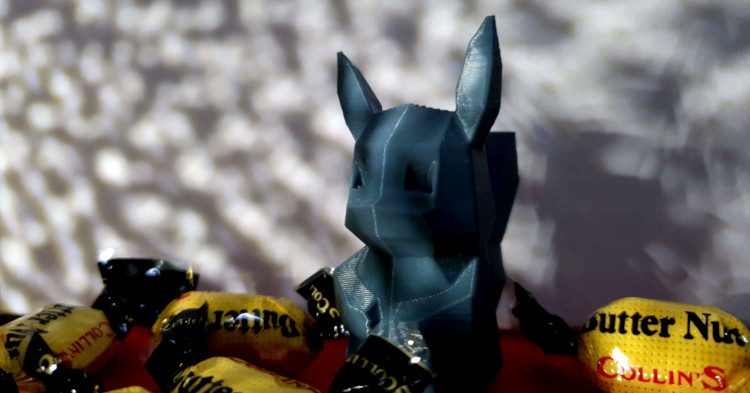
#6 Use your computer screen as a background
Use your computer screen as a background by displaying something that’s visually interesting on it and place your subject directly in front of it. But that’s not all, instead of taking a picture, you could take a video of your subjects instead with an animated background displayed on the computer screen.
Use your computer screen as a makeshift background
However, this only works if the subject is much smaller than your screen. If you want to take pictures of a larger object, you might want to use a larger screen to display a larger background.
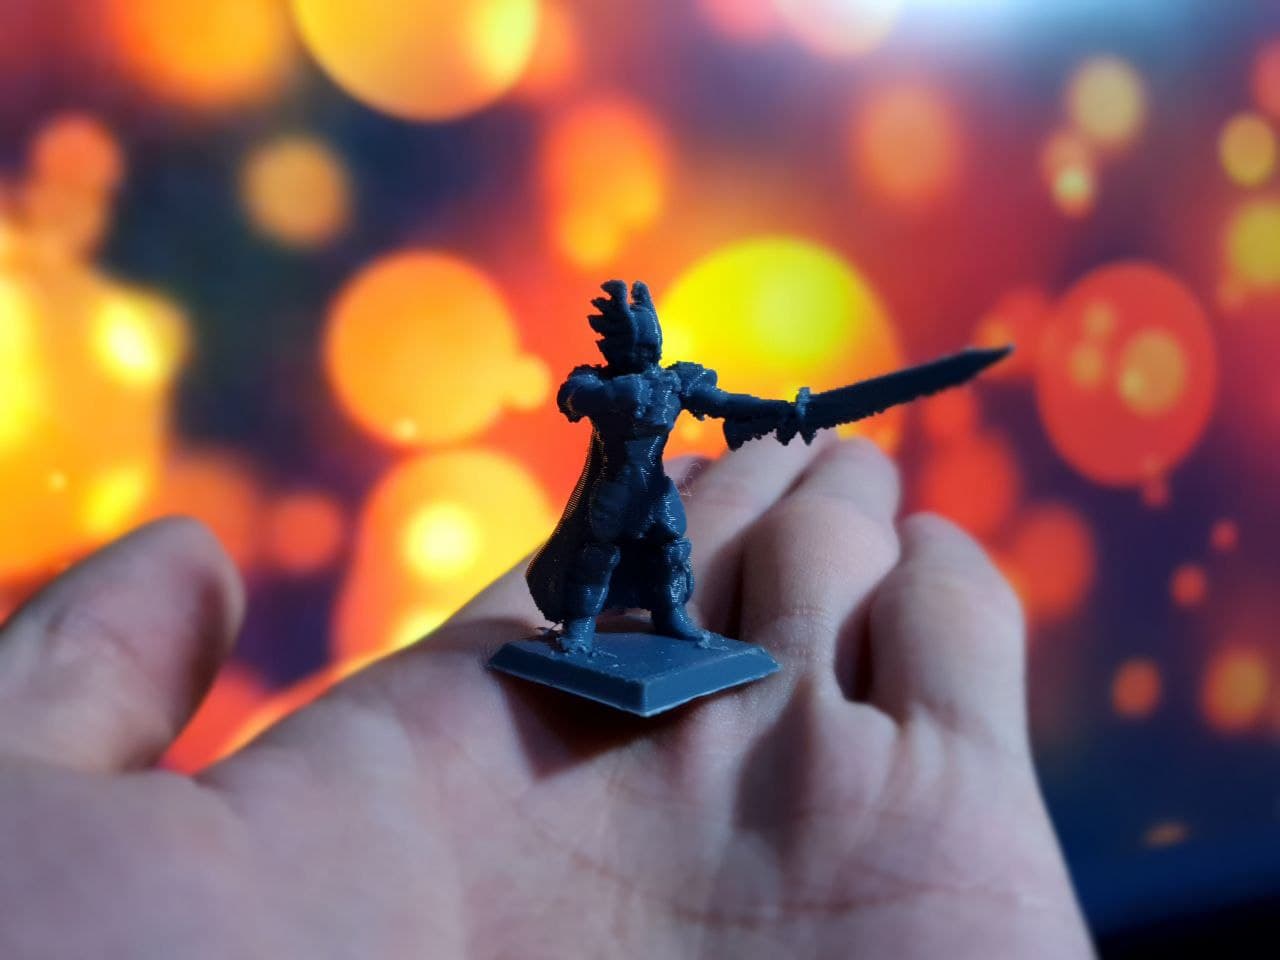
#7 Place a water droplet on top of your camera lens to turn it into a makeshift macro camera
Smartphones without a dedicated macro camera might have a hard time taking pictures of subjects that are too close. Because of that, you can easily turn your camera into a makeshift camera by placing a droplet of water on top of the camera sensor.
Picture taken without the water droplet on the camera lens
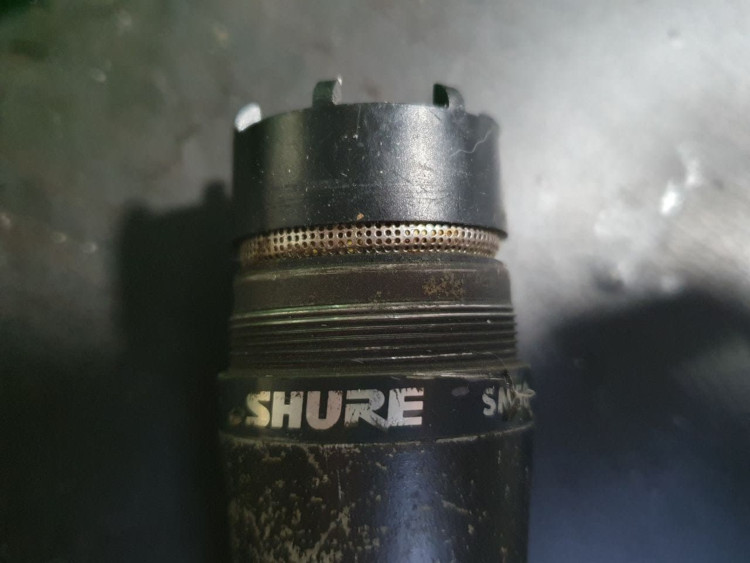
Extreme closeup of the microphone that was taken with a water droplet on the camera lens
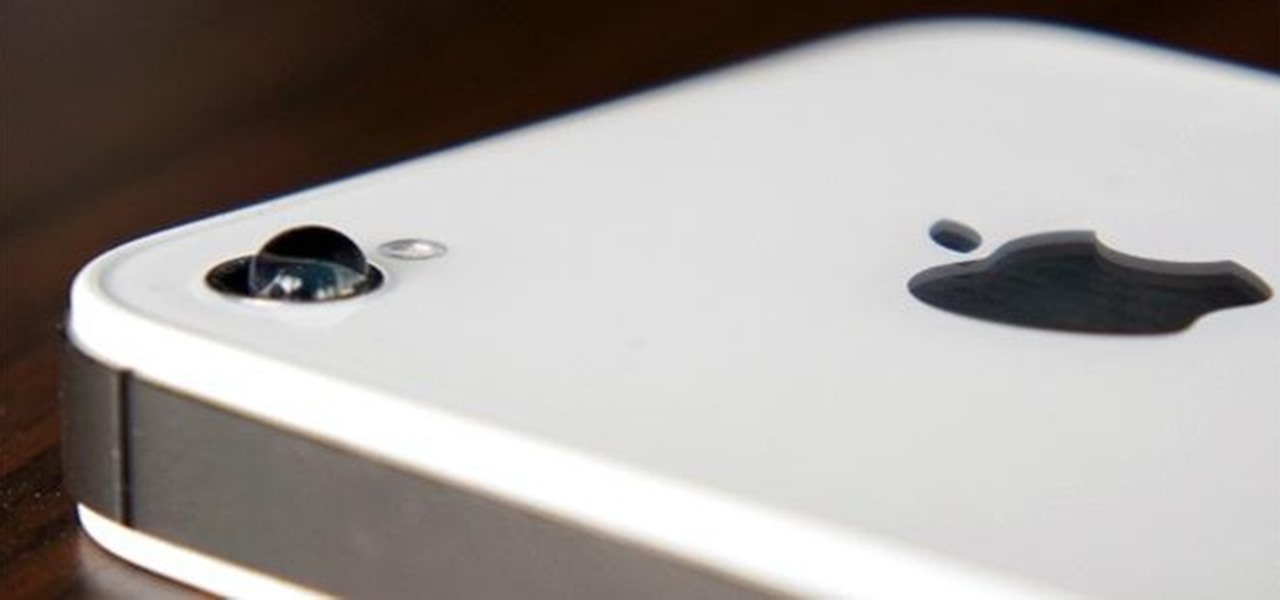
By doing so, you can take pictures of subjects that are extremely close to the camera. However, the clarity of the image depends on the shape of the water droplet because a perfectly round droplet will produce a clearer image while an irregular shaped droplet will not. That said, if using a water droplet is too troublesome, you might want to consider getting a third party macro lens instead for a more consistent result.
#8 Be creative with your hair
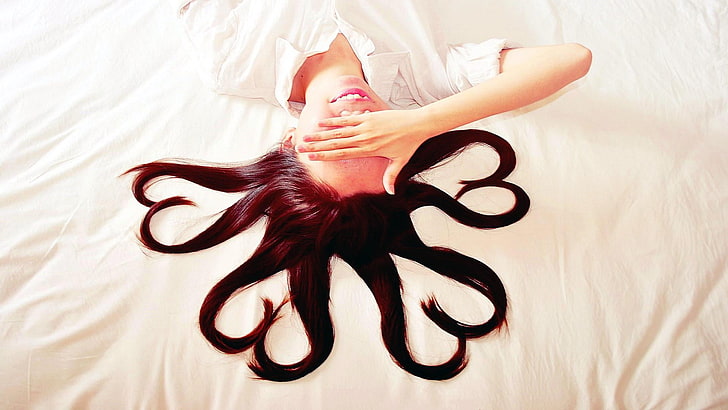
Create shapes with your hair! Image courtesy of wallpaperflare.com
If you have long hair, you can take eye-catching pictures by forming hearts with your hair. In order to do so, all you need to do is lay your back on a flat surface, grab a few strands of hair and twist it to the desired shape you are looking for.
You could also take a video of yourself getting up after shaping your hair, then reverse to get an interesting video as well. As usual, don't be afraid to experiment to see what works best for you!
Extra: tips from our in-house photographers
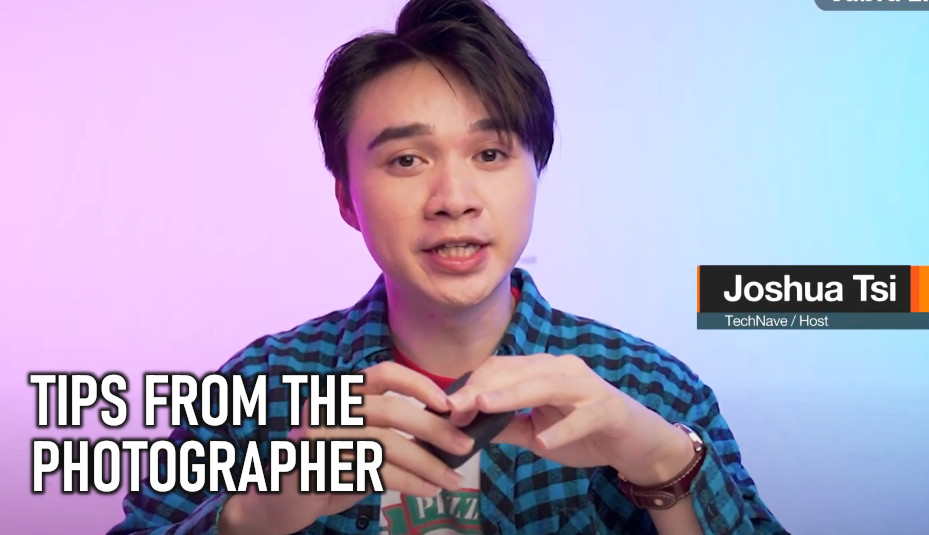
According to our in-house photographers, be sure to use natural sunlight from the sun and place your subjects towards the corner to direct your viewers attention to it. Not only that but don’t be afraid to include household items in your shoot as props to make your pictures look a lot more interesting.
If you're taking pictures using a smartphone, try to use the Pro Mode feature so that you have more control over the ISO, shutter speed, and the aperture of the camera. Also, you can use everyday objects like a hollow tube to help frame your shots.
Don’t be afraid to experiment and see how your pictures turn out
With all that being said, don't be afraid to experiment with each of the tips mentioned above to see how your photos turn out. You can also combine 2 or more of the tips above to achieve a significantly more interesting look.
Which of the 8 tips are you keen on trying out for your next at-home photo shoot? Let us know on our Facebook page and for more updates like this, stay tuned to TechNave.com.


COMMENTS