From our previous post about the Samsung Galaxy Note9's camera capabilities, I guess everyone is not really surprised by the photo quality taken by the phablet. We are back again this time with another photo showcase in night photography. Our new boy, Joseph has taken the liberty of exploring the streets of Kuala Lumpur and if you like street photography, here are some of our tips on how to use the Galaxy Note 9 for night photography on the streets!
Use Manual Mode!
To start off, a good photo is always subjective to everyone but the fact remains that factors such as composition, framing, angle or depth of field and others play an important role in creating an amazing photo. But thanks to smartphone camera functions nowadays, it's not difficult to take a good-looking photo, but then again, it's also difficult to take a photo that expresses your feelings.
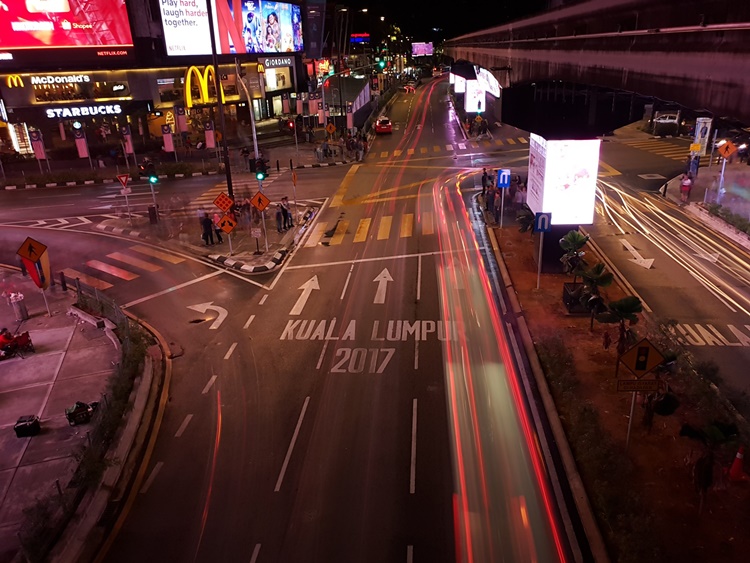
Car light trails
So if you're a photographer wanting to get serious, perhaps it's time to move on to Pro Mode (or Manual Mode, Master Mode) that's on nearly every single smartphone right now. In Pro Mode, the camera user interface offers you ISO, aperture and shutter speed options. Adjusting these camera settings to your own preference can definitely cater to your feelings and get as close as to your imagination as your skills can allow. Also, Auto Mode isn't going to cut it for night photography because it will usually turn out grainy. So if you want to shoot that star track or light trails shot, use Manual Mode!
BRING YOUR TRIPOD
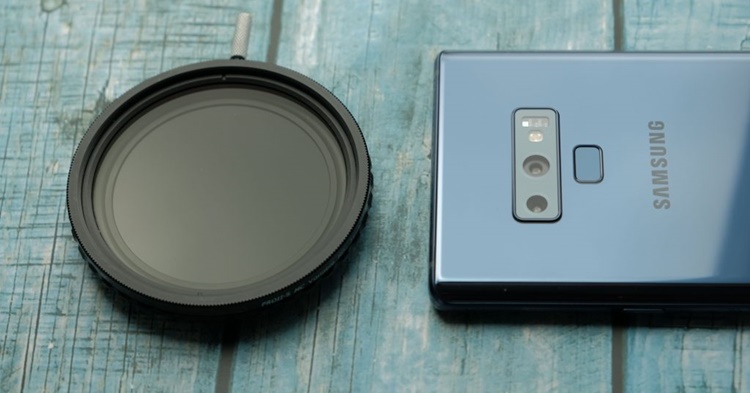
Speaking of taking star track photos, this applies to light trailing photo shots too and will definitely require a long shutter speed setting for it to take effect. The first and foremost basic thing to do this is to have a tripod with you so that your image won't go haywire (you know what I'm talking about lah). However, sometimes the effect may be too bright but here's a #lifehack tip for you, you can actually use a sunglasses to "cheat" the camera sensor thinking it's night time! However, try to stay away from using polarized or gradient lenses.
Some other tips that we have is to hold your breath when taking your shot as this reduces the vibration somewhat while those with a big belly should learn to use it as a stomach ledge (it really works, seriously!) to help stabilize your shots. In case you didn't know, the Galaxy Note 9 already has an Optical Image Stabilizer on board but that doesn't mean that you shouldn't bring a tripod along, it will definitely help a lot in reducing the chance of blurriness so don't be lazy!
Understand the aperture
Can your phone do this?
Ah, yes. The aperture. For basics - the smaller the number is (like f/1.5) means the bigger the aperture is, which means it can take in more light than say f/2.4. The amount of light can influence how your final image turns out and it plays a critical role here, often going hand-in-hand with the shutter speed setting. So when shooting night scenery, you might want to use a bigger aperture and a faster (not longer) shutter speed to prevent motion blur. ISO can also play a part and to catch those light trail shots, you need to set it as low as you can because the higher it goes, the more grainy it gets.
The Dual Aperture on the Galaxy Note 9 will also help a lot since it can be switched manually from f/1.5 to f/2.4. In Joseph's case, f/2.4 is the way to go because there are plenty of artificial lights around the heart of KL, also thanks to the Bluetooth S Pen, taking photos has never become this easy with a smartphone.
Colours are everything
Once you understand the nature of the camera settings, the next thing is refining the colours. What? You thought it's all over after snapping a photo? We aren't just talking about filtering but it's more than that (like photoshopping). In comparison, it's like putting on some seasoning on a dish for that extra flavour. This is usually why professional photographers always save their image files in RAW format (thankfully, some phones like the Galaxy Note 9 allow that too), then they adjust the colour tone according to their imagination. There is no right or wrong in choosing colours as long as it represents what you want to express, so bring out your artistic side!
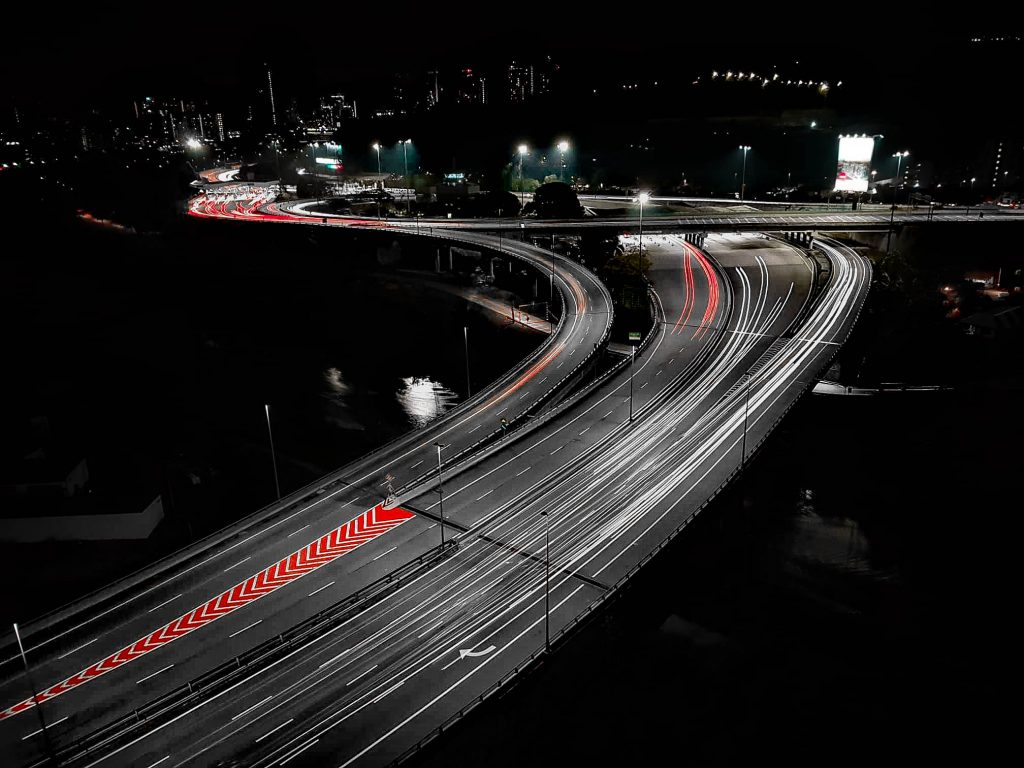
Before adjusting the colours
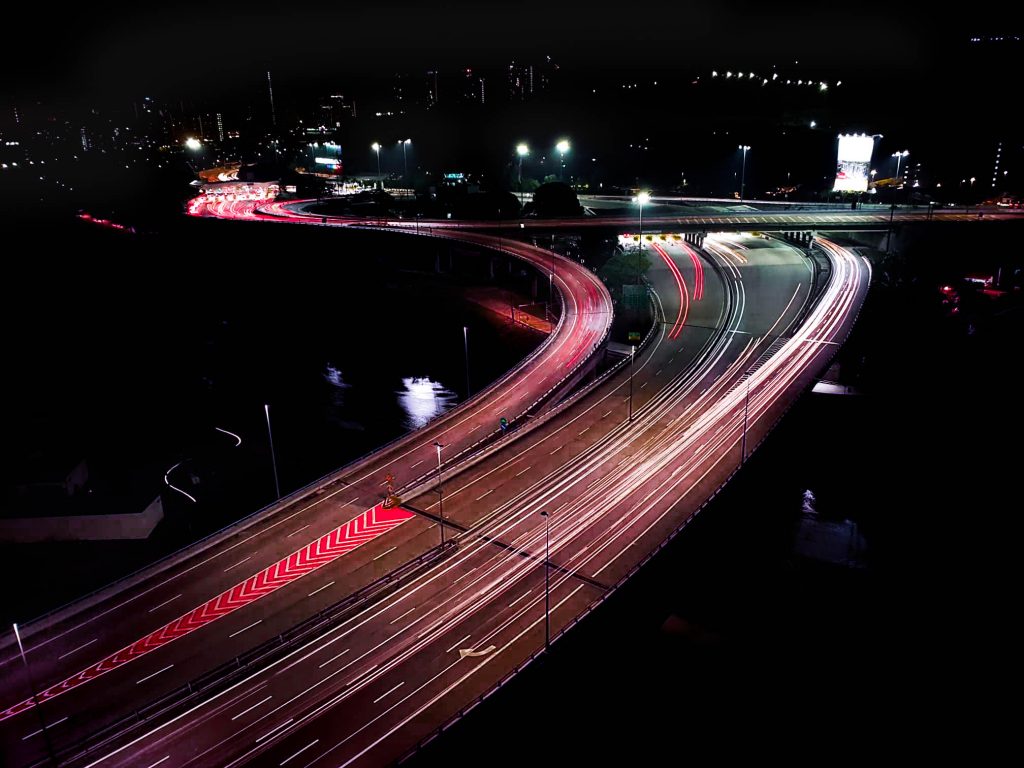
After adjusting the colours
Keep practising
We have actually reached the end of the lesson (lol) but as a photographer, you really need to have a lot of practice and plenty of trial and error. As the saying goes, Rome wasn't built in a day so you gotta keep practising until you find your own style, whether if it's black and white photography, conceptual ones, portrait shots and many more. With the technologies that are so accessible these days, such as the Galaxy Note 9, it's definitely a stepping stone for everyone to become a professional photographer one day. Criticism is inevitable as well, but no one becomes successful from not failing.
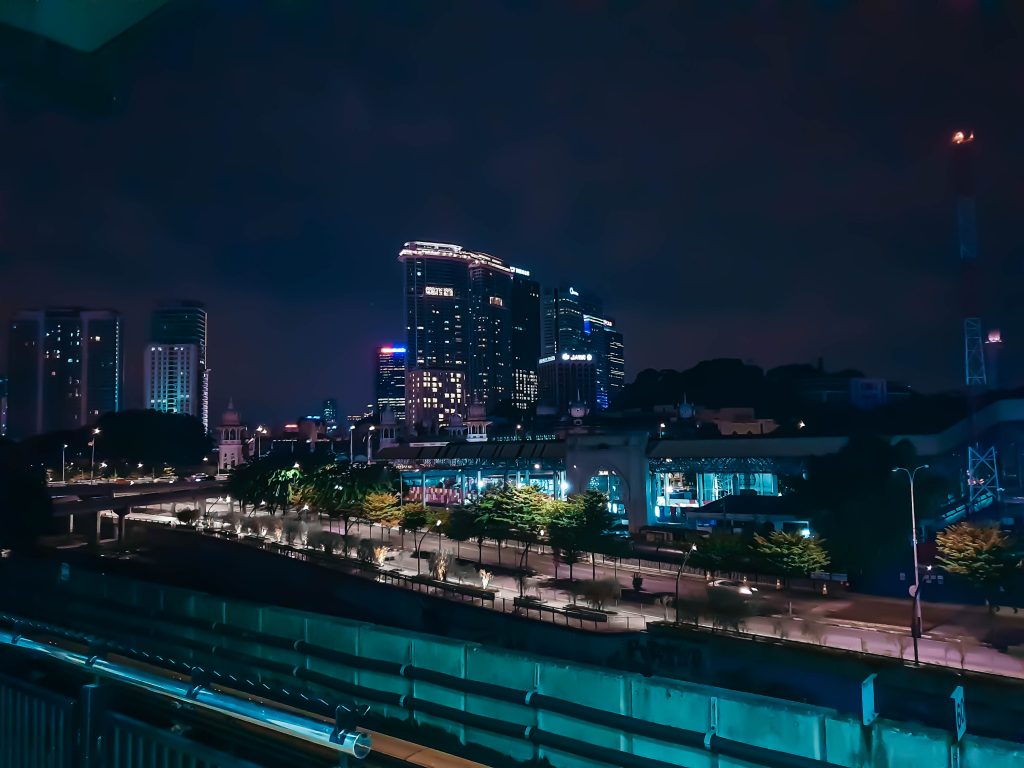
Anyway, I think I've said enough. Below are some of the night photo samples taken from Joseph! Enjoy!

10 seconds shutter, F/2.4 aperture, ISO 50, with tripod

Same setting, but with different colour flavour
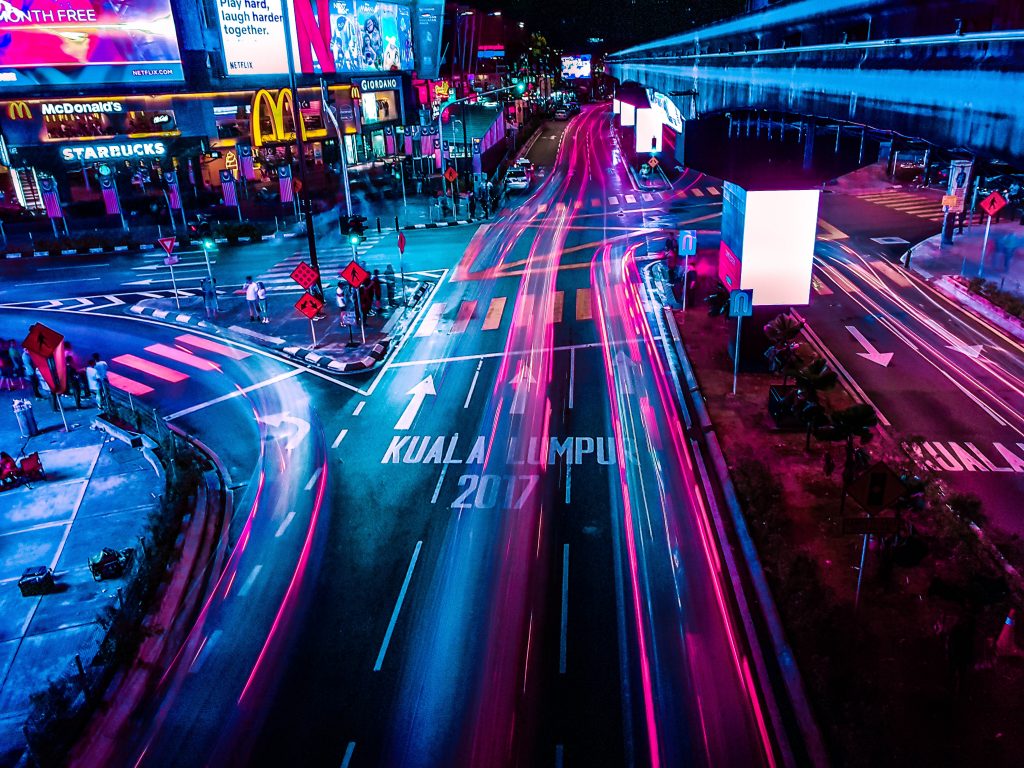
Different colour experiment, doesn't this have a Blade Runner feel?
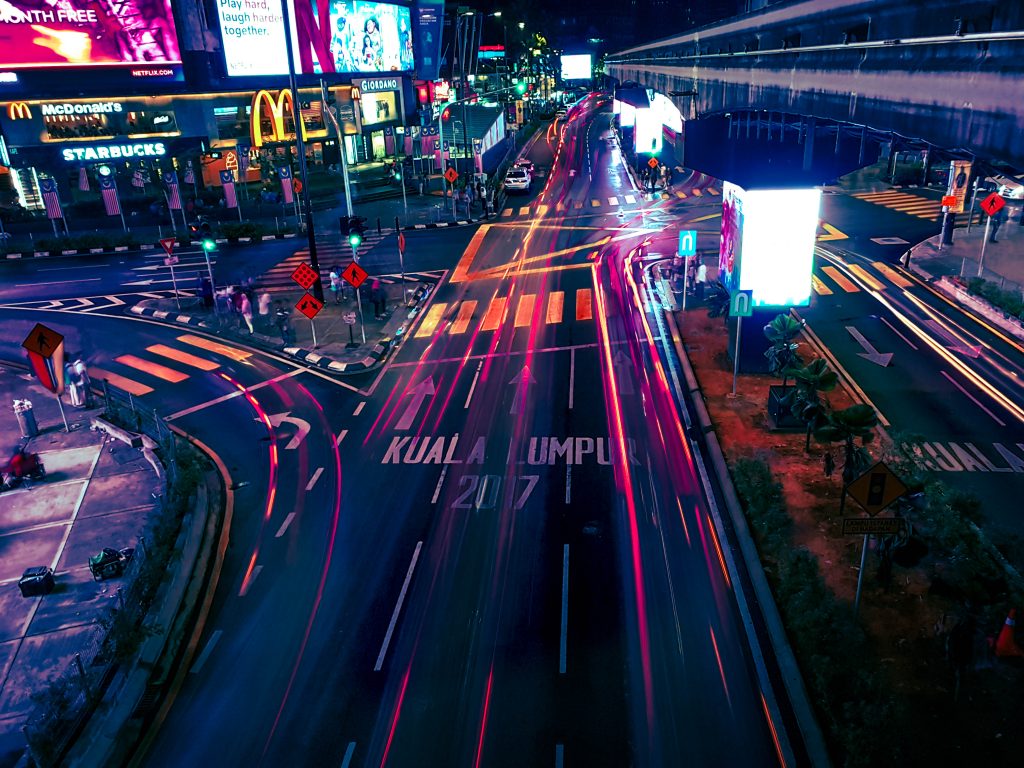
With photoshopping in your hands, the possibilities are endless
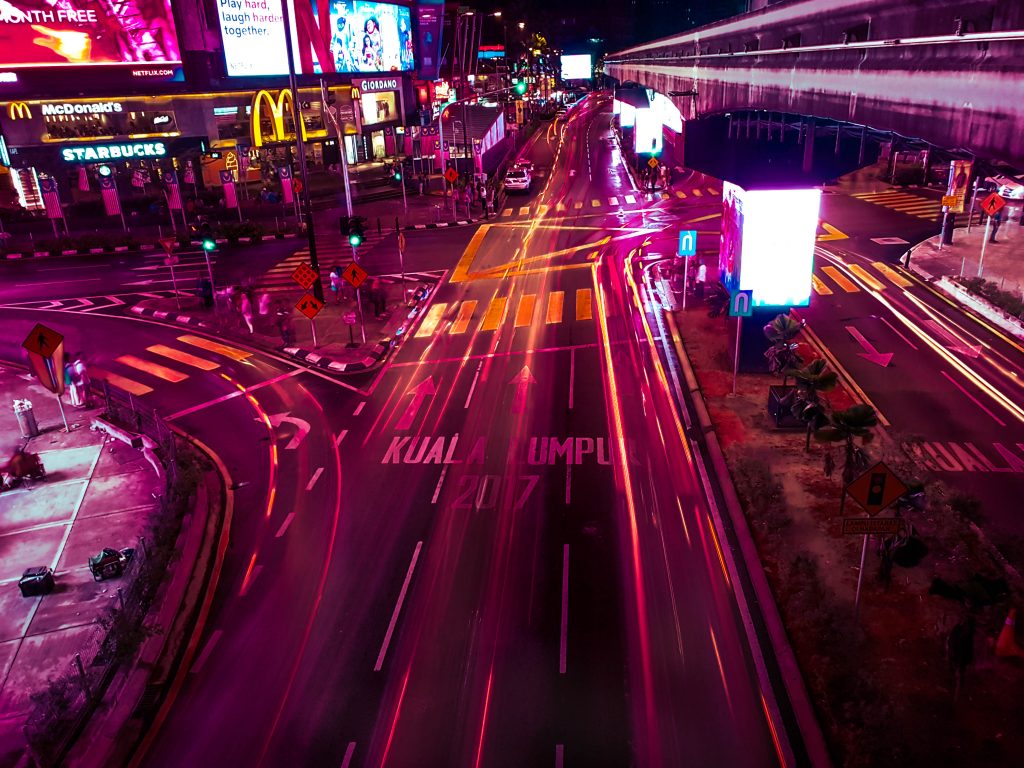
Here's another one with a more warmer feel
Moving to a different location, but with the same setting
Again, experimenting with the colours
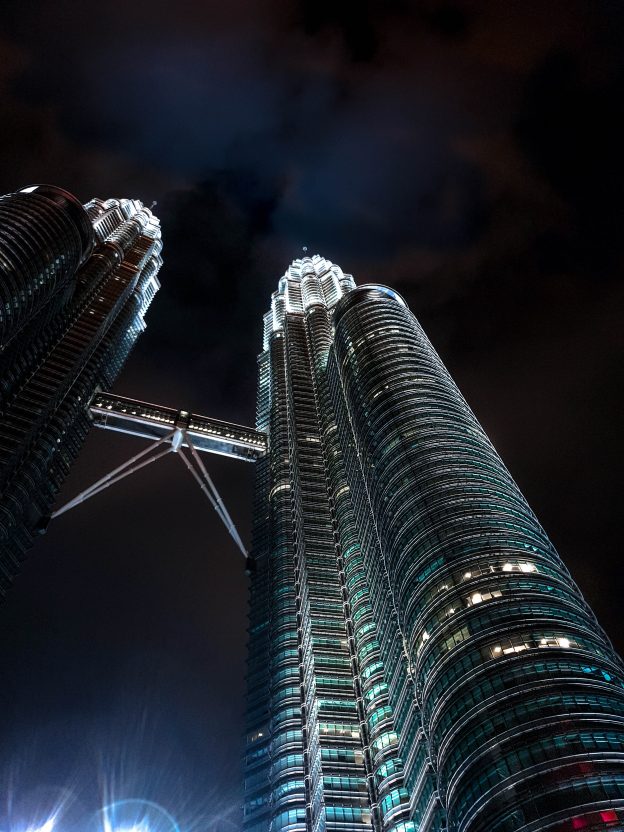
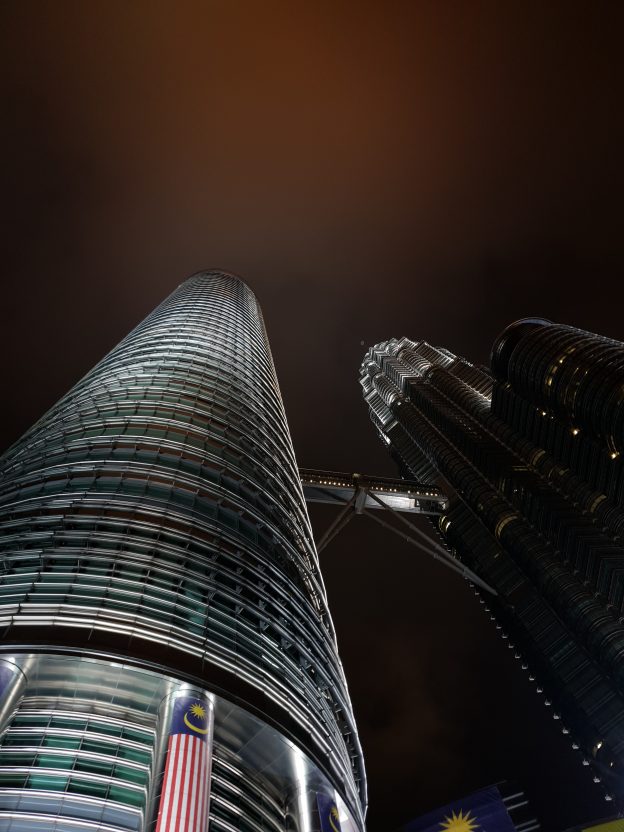
1/4 seconds shutter, F/2.4 aperture, ISO 50, handheld

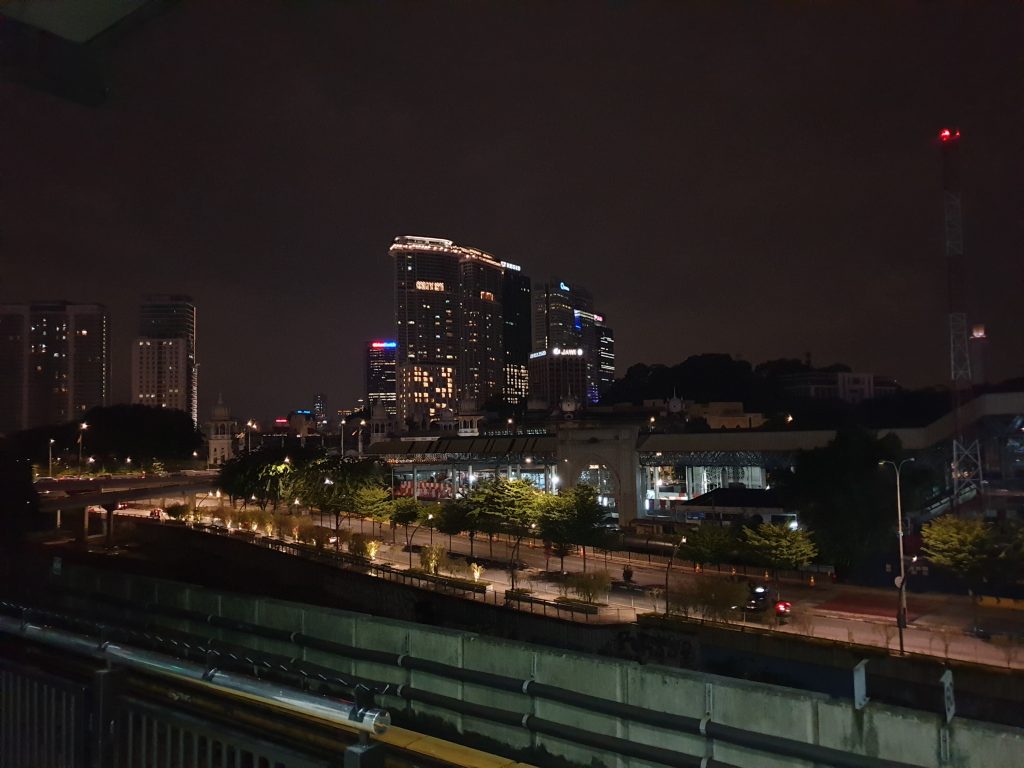
This one is in Auto Mode haha

Auto Mode, taking advantage of the light
Stay tuned for more tech articles at TechNave.com and #TGIF!


COMMENTS